After the Consent module has been activated for your Study and at least one eConsent Form has been configured, you can use Study Runner to:
- Monitor Participant consent statuses
- Schedule eConsent Events to make consent Forms available to Participants
You can view eConsent statuses in two places:
- Participant Matrix – A separate column is displayed for each eConsent Form in the Study.
- Participant Details Page – Status appears in the General Information section and on the Form cards in the Visits section.

The following statuses may appear for eConsent Forms:
| Icon | Status | Description |
 | Consent Not Signed | The Participant has not yet signed the eConsent Form. |
 | Consent Signed | The Participant has signed the eConsent Form, but it has not yet been countersigned by a site user (CRC or Investigator). |
 | Consent Countersigned | The Participant has signed the eConsent Form, and it has been countersigned by a site user (CRC or Investigator). |
 | Requires Reconsent | The Participant’s previous consent was removed. This typically occurs when a new version of the eConsent Form is issued and a Data Manager has migrated the record to this new version, or if a site user (CRC or Investigator) has manually unconsented the form due to a process error. The Participant must provide consent again. ⚠️ Note: When an eConsent Form is set to Requires Reconsent, it is marked as Data Entry Started and reappears on the Participant’s dashboard so the Participant can re-sign. |
Scheduling and Managing eConsent Forms
Schedule an eConsent Form
For a Participant to see an eConsent Form on their dashboard, you must schedule the Event containing the Form.
Schedule the Event the same way you schedule any other Visit Event:
- From the Participant Matrix, or
- By clicking Add New on the Participant Details page.
For more information on scheduling events, refer to Schedule an Event.
Invite the Participant
To access the eConsent Form, the Participant must also be invited to the Study.
Once the Visit with the eConsent Form is scheduled and the Participant has been invited:
- The Participant can log in to their dashboard.
- The Participant can sign the eConsent Form.
- After signing, the Form is marked as Completed, and the eConsent status is updated in Study Runner.
For more information on inviting participants, refer to Invite Participants and Automating Participant Access.
View an eConsent Form
After the Event with an eConsent Form has been scheduled, the Form can be viewed by any user with permission.
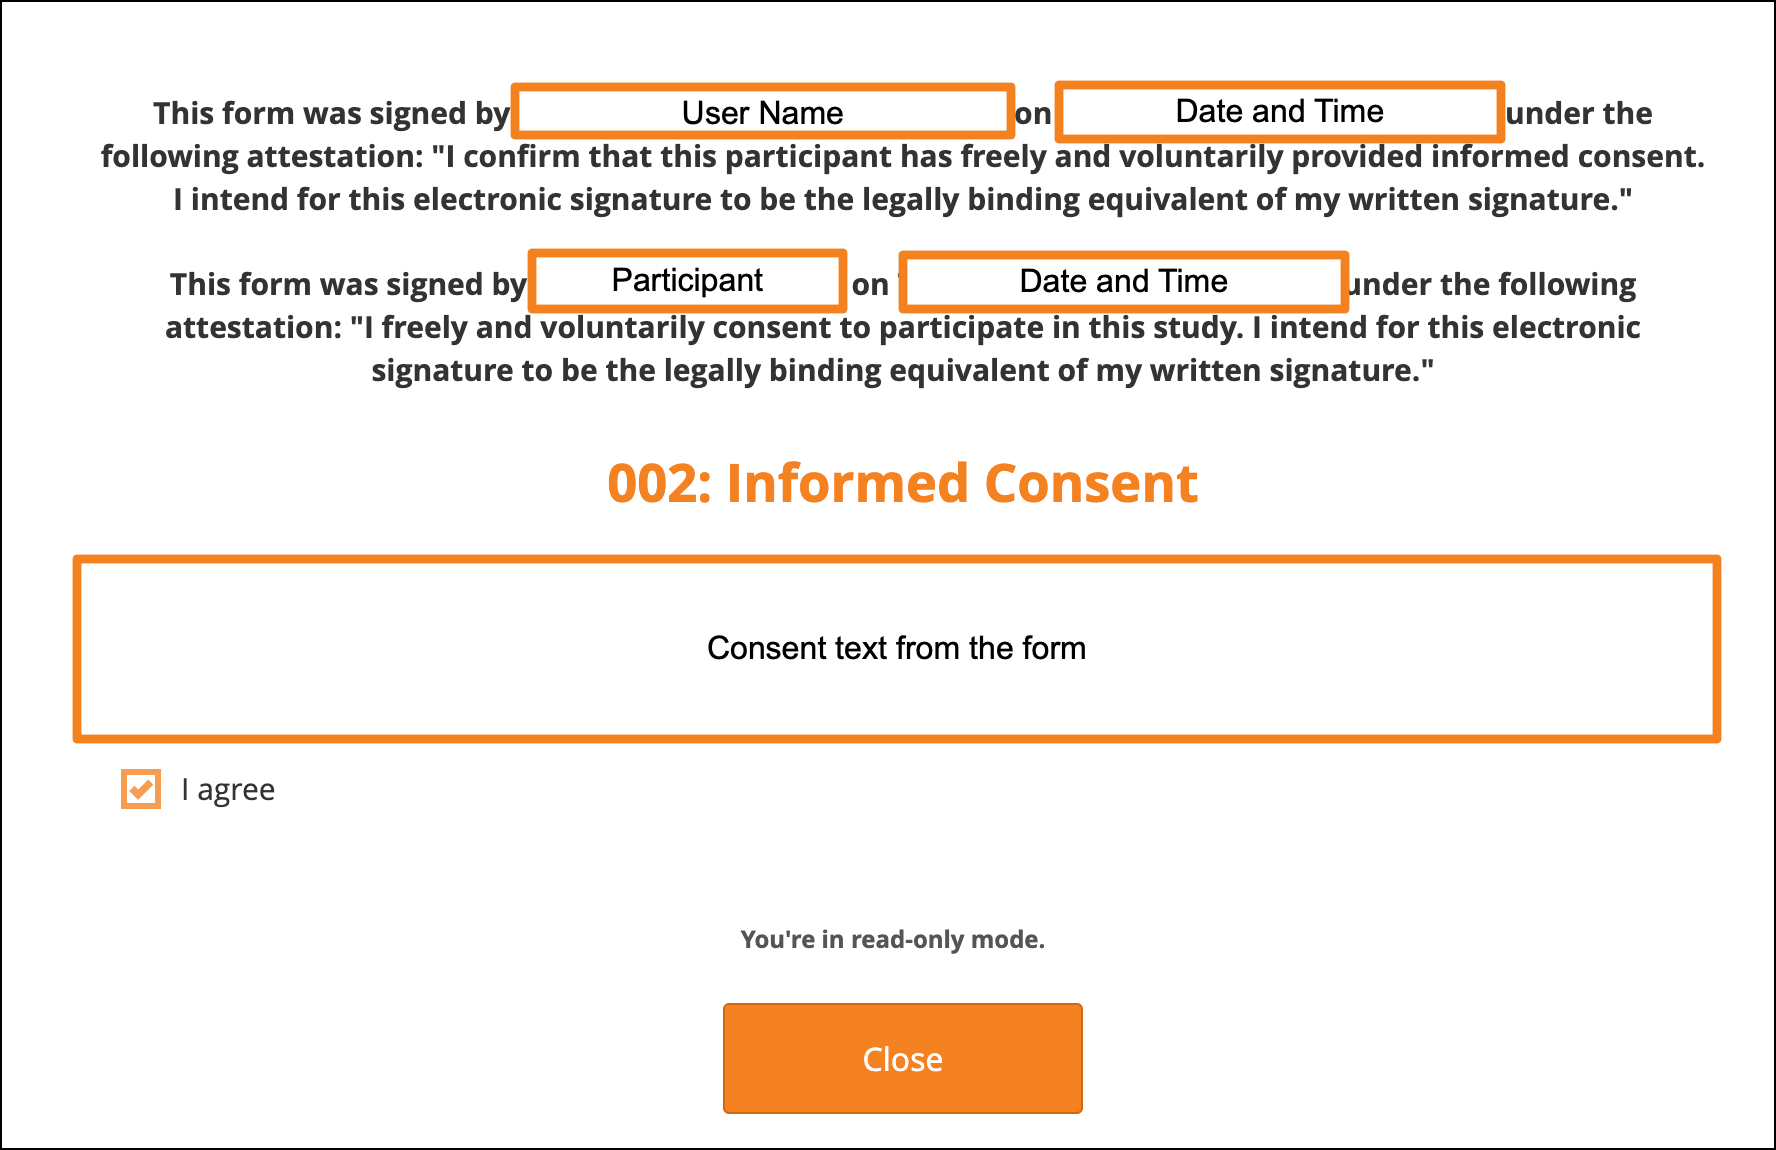
- Participant users are the only ones who can check the box to sign the Form. It is read only for all other users.
- Other users (e.g., CRCs, Investigators, Data Managers) can open the Form but cannot sign on behalf of the Participant.
- To open the Form:
- Click the Visit Form card, or
- Use the actions menu.
When viewing the Form, the top of the page displays signature information:
- When the Participant signed
- The Participant’s name (visible only to CRCs and Investigators)
- Who countersigned and when the countersignature was added
⚠️ Note: A Form is not visible to the Participant until both conditions are met:
- The Visit Event containing the eConsent Form is scheduled.
- The Participant has been invited to the Study.
Countersign a Signed Consent
After a Participant signs an eConsent Form, its status is updated on both the Participant Matrix and the Participant Details page.
Clinical Research Coordinators (CRCs) and Investigators can then countersign.
To countersign:
- On the signed eConsent Form card, open the Actions menu.
- Select Countersign.
- Enter your Username and Password to confirm.
- Click Submit.
The eConsent status on the Form card updates to Consent Countersigned.

Unconsent a Signed Consent
You can also remove consent when a Participant must re-sign (for example, if the participant made a mistake completing the form).
To unconsent:
- On the signed eConsent Form card, open the Actions menu.
- Select Unconsent.
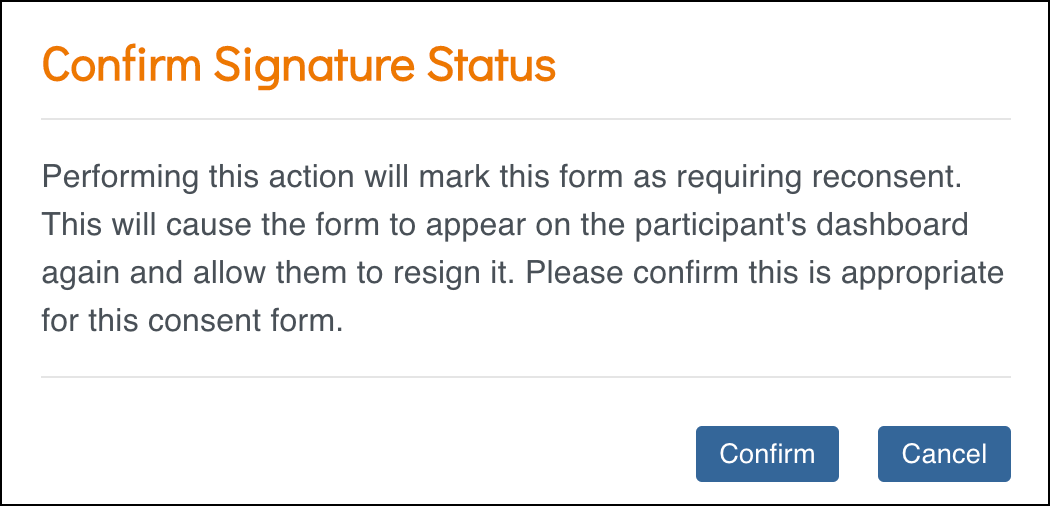
- In the Confirm Signature Status window, review the message.
- Performing this action will mark the Form as Requires Reconsent.
- The Form will reappear on the Participant’s dashboard for re-signing.
- Click Confirm.
The Form’s eConsent status updates to Requires Reconsent and the Form status changes from Completed to Data Entry Started.
⚠️ Warning: Once you unconsent a Form, the action cannot be reversed. The Participant must re-sign to restore consent.
ℹ️ Note: The eConsent status in the General Information section of the Participant Details page is updated when the page is refreshed.
Migrating an eConsent Form to a New Version
When you migrate a Consent Form to a new version, OpenClinica updates the status and clears outdated data to maintain integrity and compliance.
Behavior during migration
- The Consent signature status is set to Requires Reconsent.
- The Form is cleared, removing all data except Participant contact fields.
- The Form status is reset to Not Started.
- You must enter a Reason for Change (RFC) to complete the migration.
Audit Log
- Both the Migration and Clear actions are recorded in the Audit Log.
- The RFC is stored with these records.
- For more details, see Participant Audit Log.
⚠️ Warning: Migrating to a new version permanently removes previously signed consent data. Participants must re-sign the updated Form.
Reassign
Reassigning a Participant transfers them to another site. After reassignment:
- The Participant is associated with the new site.
- Reporting, permissions, and workflow are updated.
- Existing Participant data remains intact.
Clear
Clearing a Form removes all active data. When you clear a Form:
- The Form status resets to Not Started.
- All associated queries are closed.
- Audit history is retained, but active data is permanently removed.