4.5.1 Manage Rules (Study Level)
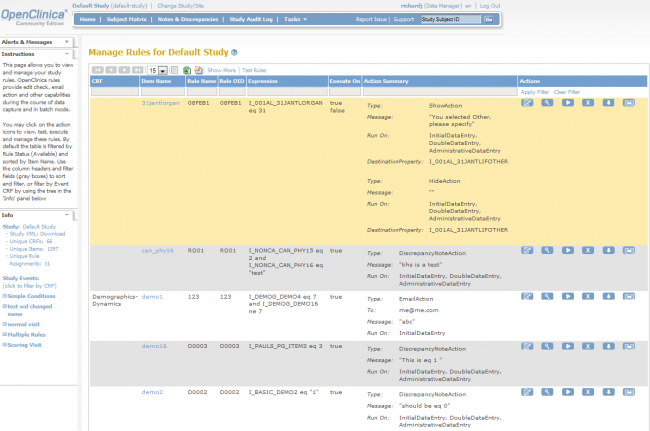
The Manage Rules page allows you to view and manage the Rules for your Study. The list of Rules is filtered by default to display only Available (active) Rules.
View or Restore Removed Rule(s)
To view and/or restore Rules that have been removed, click the Show More link above the table, click in the Rule Status column, and click Removed from the dropdown list.
Manage Rules page (Study Level)
The column headers (once Show More link is selected) and the cells with detail information in the Manage Rules table:
| Column | Description |
| Run On Schedule | True or False, indicating whether the Rule was created to run at a set time on a daily basis using the RunOnSchedule statement. |
| Run Time | If Run On Schedule is True, this is the time that the Rule is scheduled to run. |
| Target | The Target element defined in the RuleAssignment in the XML file. |
| Study Event | The Study Event affected by the Rule. |
| CRF | The CRF affected by the Rule. |
| Version | The version of the CRF affected by the Rule. |
| Group | The Group Label affected by the Rule. |
| Item Name | The Item Name affected by the Rule. |
| Rule Name | The user-defined brief description of the Rule. |
| Rule OID | The user-provided OID that uniquely identifies the Rule. |
| Rule Description | The user-provided statement describing the actions the Rule will perform. |
| Expression | The condition that must be met to trigger the Rule |
| CRF Validations | Yes or No to indicate whether validation exists for the item in a CRF Template. |
| Execute On | True or False to indicate whether the Rule should execute if the Expression condition is met (TRUE) or not met (FALSE. |
| Action Type | The action that the Rule will execute. For example, DiscrepancyNoteAction, EmailAction, NotificationAction, InsertAction, etc. |
| Action Summary | A summary of the Rule characteristics. This includes the action type prompted if the underlying condition is met, when it is run, and Rule properties. |
| Actions | Role-based actions that can be applied to the Rule. These depend on User Role. See Overview section for more details.
|
Use the column headers and filter fields (grey boxes) to sort and filter, or filter by Event CRF by using the tree in the ‘Info’ panel which is located on the left hand pane (see figure below). By default the table is filtered by Rule Status (Available) and sorted by Item Name.
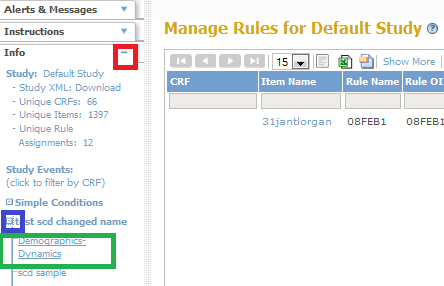
Filtering Rules Using the Info Pane
1. Locate the Info pane. Verify if it is expanded. If it is not, click on the maximize icon on the right (red box).
2. Click on the expand icon to the left of Study Event you are interested in (blue box)
3. A list of CRFs corresponding to the Study Event is populated in a tree hierarchy. Select the CRF (green box)
4. The Rules are filtered based on the CRF and Study Event you selected (see figure below)

Filter Result
The green arrows at the top of the table allow you to navigate through the pages. If you have fewer than 15 Rules in your study the arrows will be greyed out and only one page will be displayed. With the drop-down menu next to the arrows you can choose how many subjects should be displayed on one page (15, 25, or 50). You will also see a Test Rules link which, when you select it, brings you to the Test Rules page. You may click on the action icons to view, test, execute and manage these rules.
4.5.2 Export Rules
On the Manage Rules on a study level page, you also have an option of downloading/exporting rules in CSV, Excel (for data export) and XML format (for rule file). All of the download/ export icons are located on the Manage Rules in <<Study Name>> header in between the drop down menu of how many subjects to be displayed and the Show More/ Hide link. Refer to the screenshot below.

Download icons for rules
Left (red box): Exporting Rules in CSV
Middle (blue box): Exporting Rules in Excel format
Right (green box): Downloading the Rules file (in XML)
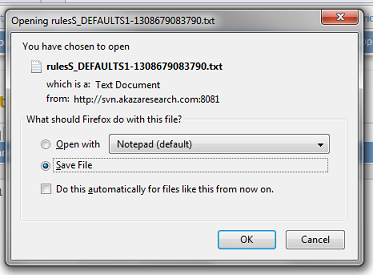
Download Rule in CSV format. Note that the rule gets saved as a txt file but it could be opened with Excel.
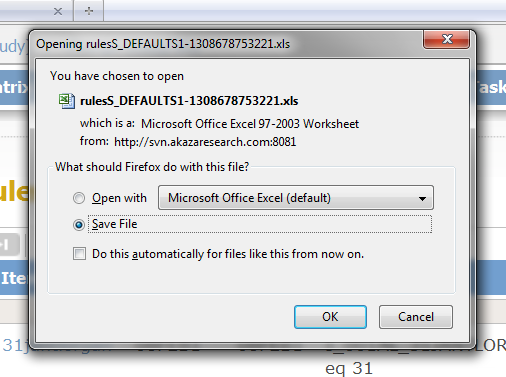
Download Rule in XLS format.
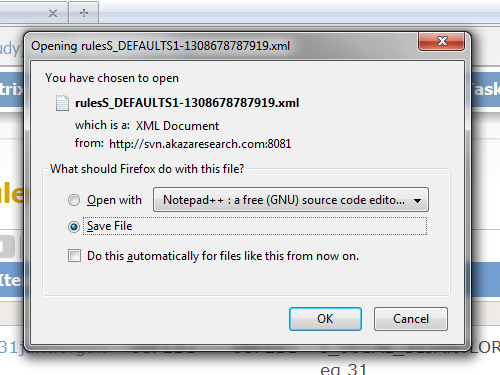
Download Rule in XML Format.
4.5.3 Manage Rules (Item Level)
To view detail information about the available rules for a particular Item select the view icon under the actions column. You will be presented with the Manage Rule for Item [Name] page. On this page you will have specific data about the Item that the rule is targeted for, along with the ability to perform actions on the individual rule by using the Run, Remove or Test icon under the actions column in the Rule table or perform actions on all available rules associated with that particular item.
Manage Rule for Item Page:
- Target OIDs All the Object indentifiers that are needed to create the statement in which the rule will evaluate
- Study Event Definition – The Study Event Definition which is affected by the Rule
- CRF Name – Indicates detailed information about the name of the CRF
- Group Label – This is the Group which is affected by the Rule
- Item Name – This is a link to the Item Metadata page and also provides information on the Item Metadata CRF Version Level Attributes
- Actions:
– Run All – Allows you to execute all available rules associated with that particular item
– Remove All – Allows you to remove all available rules associated with that particular item.
– Get XML- This enables you to download in an XML format all available rules associated with that particular item.
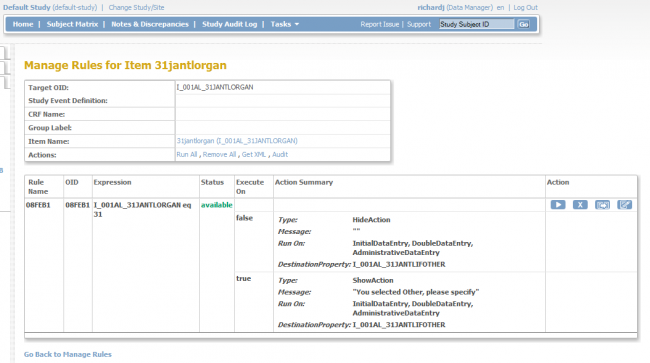
Manage Rules page (Item Level)
When selecting the Item Name link on the Manage Rule for Item page the Item Metadata page is displayed giving you information on Item Metadata Global Attributes and Item Metadata: CRF Version Level Attributes.
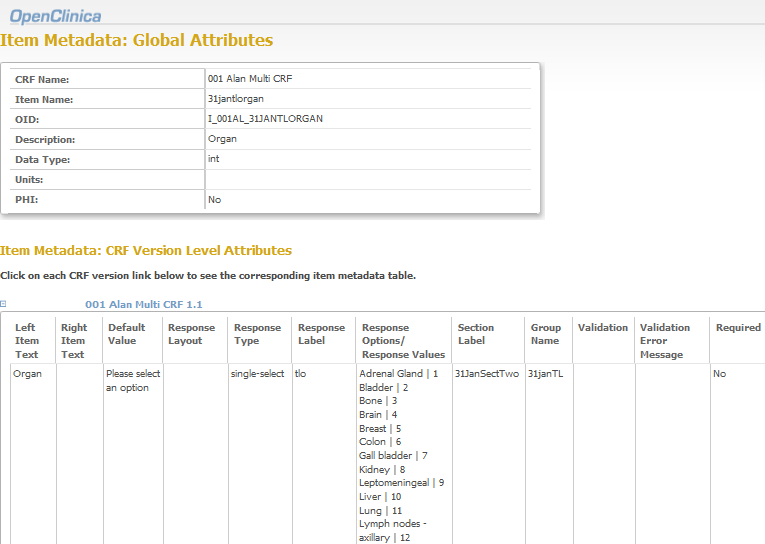
Item Metadata
