![]()
You can use Library Management to save a question or block of questions that you can add to forms later. This is useful for items you will use frequently, such as those for vital signs or laboratory results. Using the Library Management feature saves time because you do not have to recreate the same items for each form.
The Library Management button appears in the header bar of Study Designer for users with a User Type of Administrator. This button does not appear for other users.
The Content Library is shared by all users with access to Library Management within the same customer domain. Items that users previously added to the library will be available in the library. Otherwise, the Library Management page will be empty.
You can use Library Management with Form Designer or the Form Template.
To Enter Library Management:
Click the Library Management button in the header bar of Study Designer.
The Library Management screen displays all items.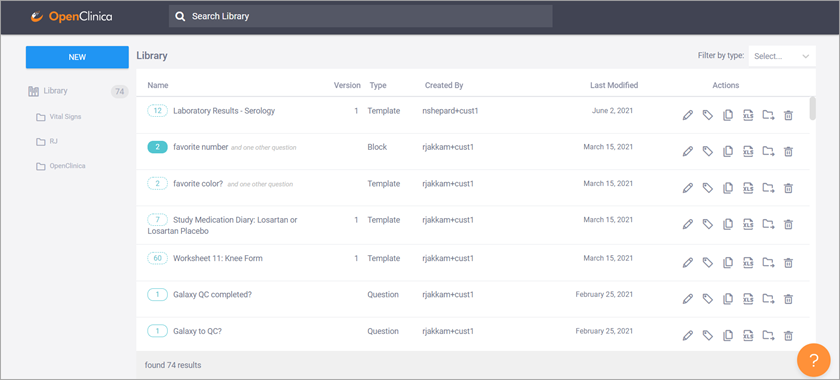
Note: The version number applies only to templates (see type below).
Icons
The icons next to the name of the item vary based on the type of the item. The number in the icon indicates the number of items (including item groups) on the form.
| Icon | Item Type | Description |
|---|---|---|
| Question | A single item | |
| Block | Multiple items without a style or version number | |
| Template | A complete form template that can either be created/edited in the form design studio or uploaded with a form template. |
The Action icons appear on the right-hand side of each item.
| Icon | Action |
|---|---|
| Edit | |
| Label | |
| Clone | |
| Download XLS | |
| Manage Collection | |
| Delete |
Search and Filter
Enter text to search for an item.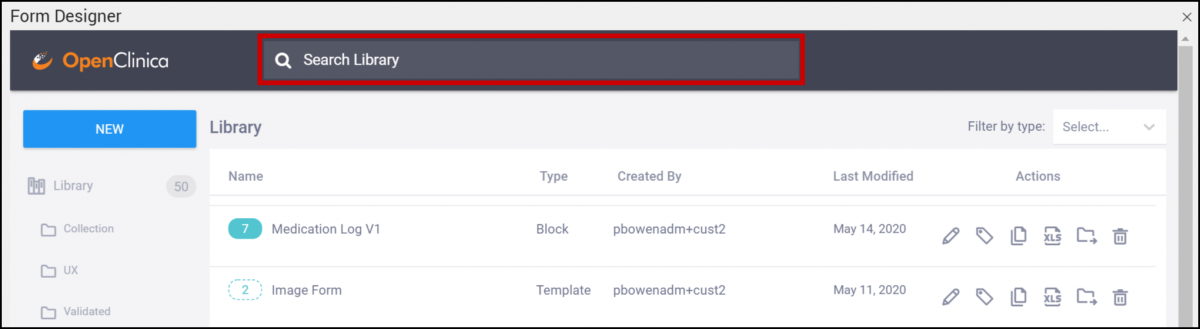
You can filter the list by the type of item (Question, Block, or Template).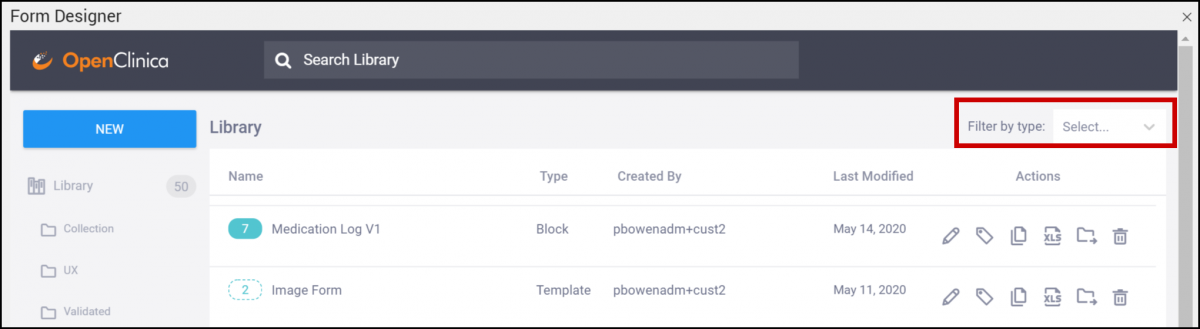
New
You can create a single question, a block of questions, or a full Form Template to add to the library.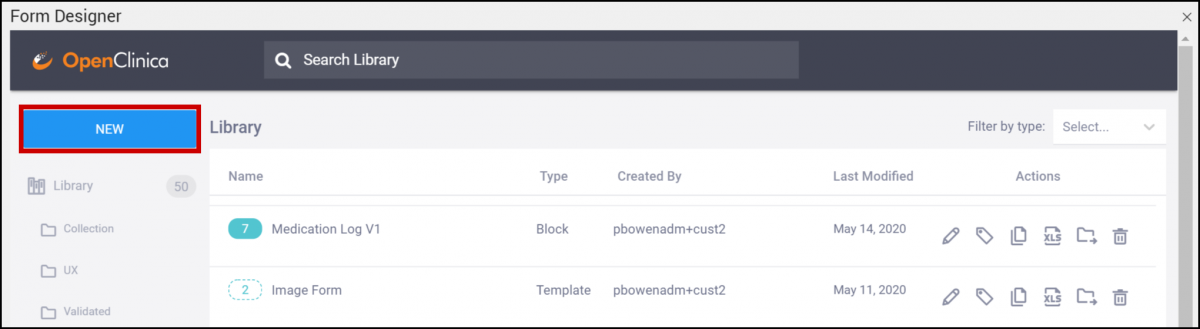
To Create Content Library Items in Form Designer:
- Click the New button in the upper left-hand corner of the Library Management Screen.
For Questions or Blocks:
- Select Question.
- Click the + sign.
- Enter text for the question.
- Click +Add Question button.
- Select a question type.
- (Optional) Complete the question form as you normally would within form designer.
- (Optional) Repeat steps 3-8 until you have added all of your questions, adding multiple questions will create a block.
- Click Create.
For Form Templates:
- When you click the new button in step 1 select Template from the options
- Build a complete form as you would normally within the designer.
- Name your template and save.
To Edit a Single Question, Block of Questions, or Form Template:
- Click the Edit icon next to the item you want to edit.
- Make changes in the designer.
- Click Save Changes.
To Delete an Item:
- Click the Delete icon next to the item you want to permanently delete.
- Click< strong>Delete to confirm that you want to permanently delete the item.
Labels
You can use labels to categorize items beyond collections. Labels appear on items when you click the Add from Library button in Form Designer.
To Add a Label to a Question, Block of Questions, or Full Form Template:
- Click the Label icon next to the item you want to label.
- Click Add Label(s).
- Enter text.
- Press the Enter key.
To Remove a Label from a Question, Block of Questions, or Full Form Template:
- Click the Label icon next to the item you want to remove the label from.
- Click the X next to the label you want to remove.
Clone
- Click the Clone icon next to the item you want to duplicate.
- Click Ok to confirm that you want to duplicate the item.
Download XLS
Click the Download XLS icon next to the item you want to download the .xls file for the item.
Upload XLS
- In the library management window, click the new button in the upper left-hand corner.
- Select Upload.
- Select the file name for the desired xls file.
Note: this will automatically load as a template even if there is only a single question.
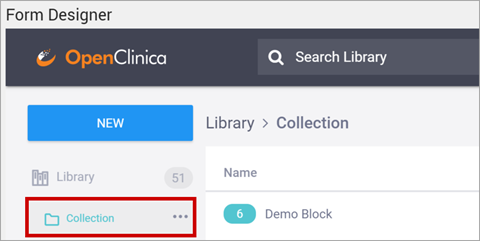
Collections
To Create a Collection:
- In the library management window, click the New button in the upper left-hand corner.
- Select collection.
- Enter a name for the collection.
- Click Create Collection.
To Rename a Collection:
- Click the collection.
- Click the ellipses.
- Click Rename.
To Delete a Collection:
- Click the collection.
- Click the ellipses.
- Click Delete.
To Add an Item to a Collection:
- Click the Manage Collection button next to an item you want to add to the collection.
- Select the collection you want to add the item to. If there are no available collections, the selection box will say none available.
Note: You can only add an item to a single collection.
Use the Content Library in the Form Designer
Items from Library Management appear in Form Designer when you click Add from Library. You can search the library or select from a list of items.
If available, items on the list display labels and the number of items in the block/template. You can also add items to the library while using Form Designer.
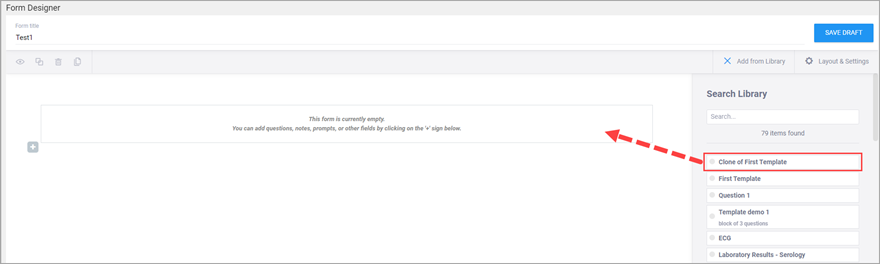
To Add an Existing Question, Block of Questions, or Template from the Library:
- Click Add from Library.
- Click the item you want to add, and move it onto the Form. You can drop the item when a box with a dotted outline appears to indicate where the item will be.
To Add a Question or Block of Questions to the Library:
Click Add Question to Library next to the item you want to add to the library.
Use in XLS Form Template
To use an item from the library in an XLS Form Template, click the Download XLS icon next to the item you want to use.
Once you have downloaded the XLS Form Template, edit it or upload it without making changes.
You can also download/upload in Study Designer and then add the Form Template to the library.